How to Remove Text from Any Image for Beginners: Easy Photoshop Guide
Introduction
Welcome back to another quick Photoshop tutorial. Today, I'm thrilled to share a step-by-step guide on how to easily remove text from any image, transforming your visual content.
This is a quick guide for people of all skill levels.
To demonstrate the versatility and effectiveness of these techniques, I've chosen two distinct examples for text removal, each with its unique challenges and solutions:
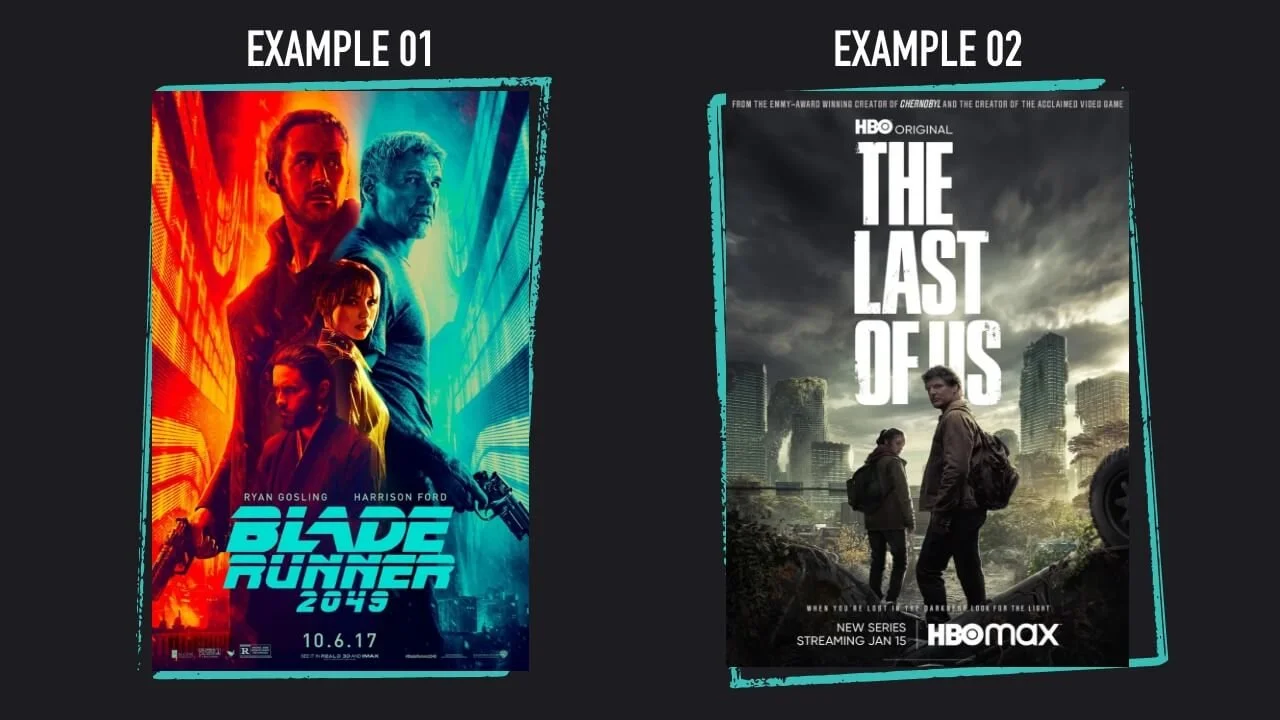
Example 01, Blade Runner Poster:
This example will walk you through a three-step process to remove text, perfect for those seeking a fast and effective solution.
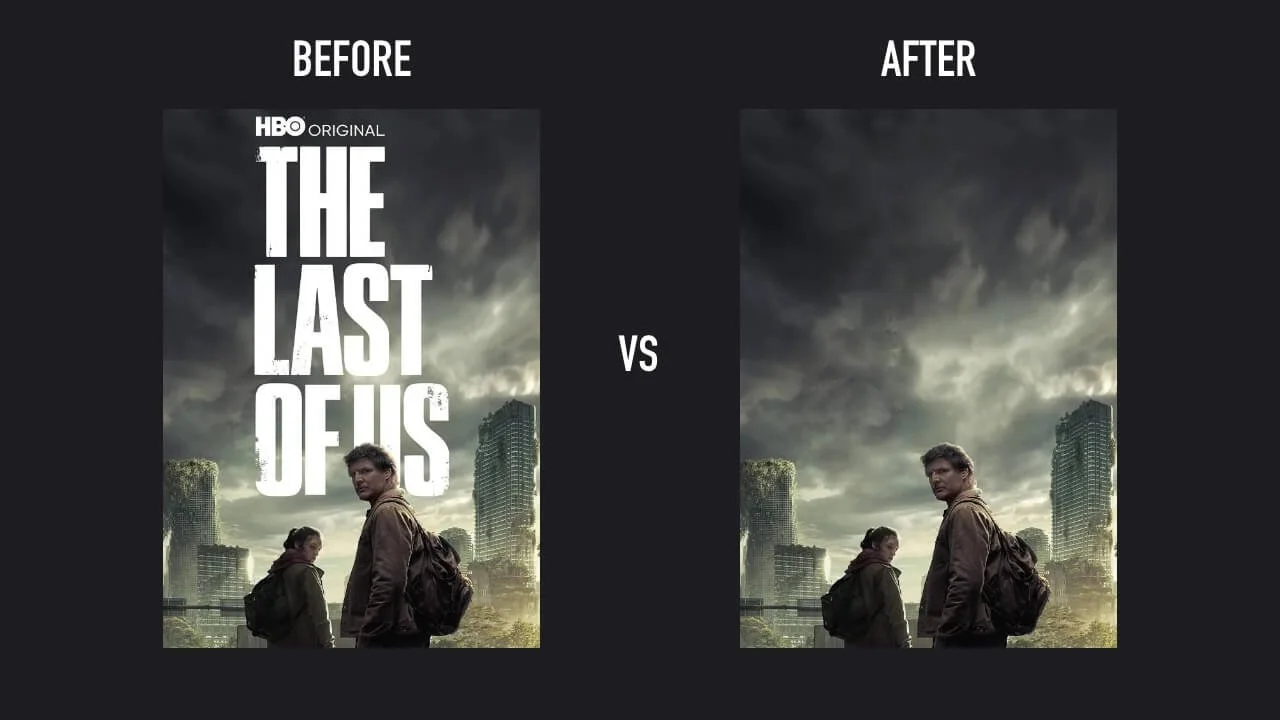
Example 02, The Last of Us Poster
Building on the foundation laid with the first example, this scenario introduces an additional layer of complexity with our subject positioned in front of the text.
Now let’s dive into the step-by-step process:
Step 01: Make a Selection
By far, one of the most effective and fastest ways to make a selection is to use the Object Selection tool (Shortcut W and then Shirt + W to cycle through the tools).
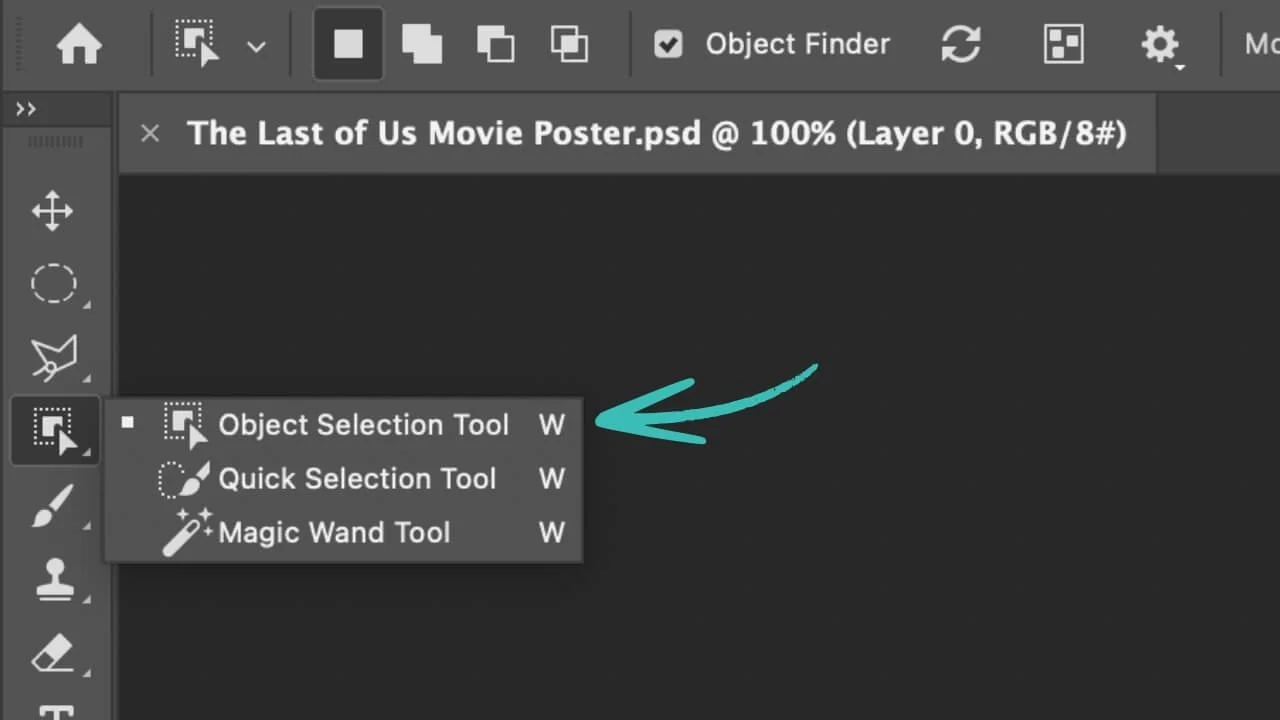
The object selection tool in Photoshop is a game-changer for this task. Given that text typically stands out due to its high contrast, this tool excels in making precise selections.
Simply draw a box around the text, and for more control, hold 'Shift' to add to your selection in segments.
Step 02: Expand Your Mask
Once satisfied with your selection, the next step is to expand the mask to ensure no remnants are left behind.
Navigate to Select > Modify > Expand, and adjust according to the image's needs; often, 2 or 3 pixels will suffice.

This minor adjustment is pivotal for the subsequent steps, ensuring the text is entirely encompassed.
Step 03: Use the Content-Aware Fill
Here's where Photoshop's brilliance truly shines. With the right-click menu, select the Content Aware Fill, and watch as Photoshop's AI works its magic.
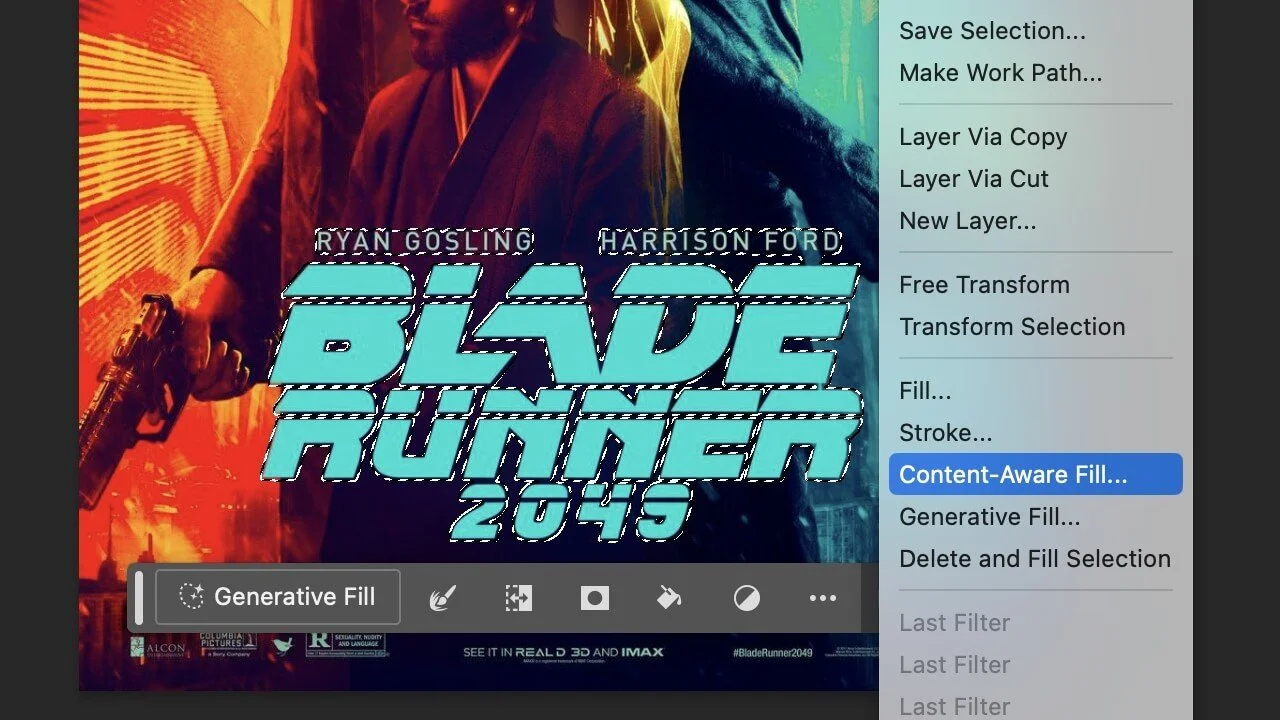

Again, because the text should have a high contrast, it’s likely that you won’t need to do any further editing.
This feature is a massive time-saver, automating what once was a painstaking manual process.
However, if your image does require further editing, here’s what you need to do…
Refinement and Perfection:
Despite the AI's efficiency, some areas may require manual touch-ups.
This is where the clone stamp tool comes into play (Shortcut S and then Shirt + S to cycle through the tools).
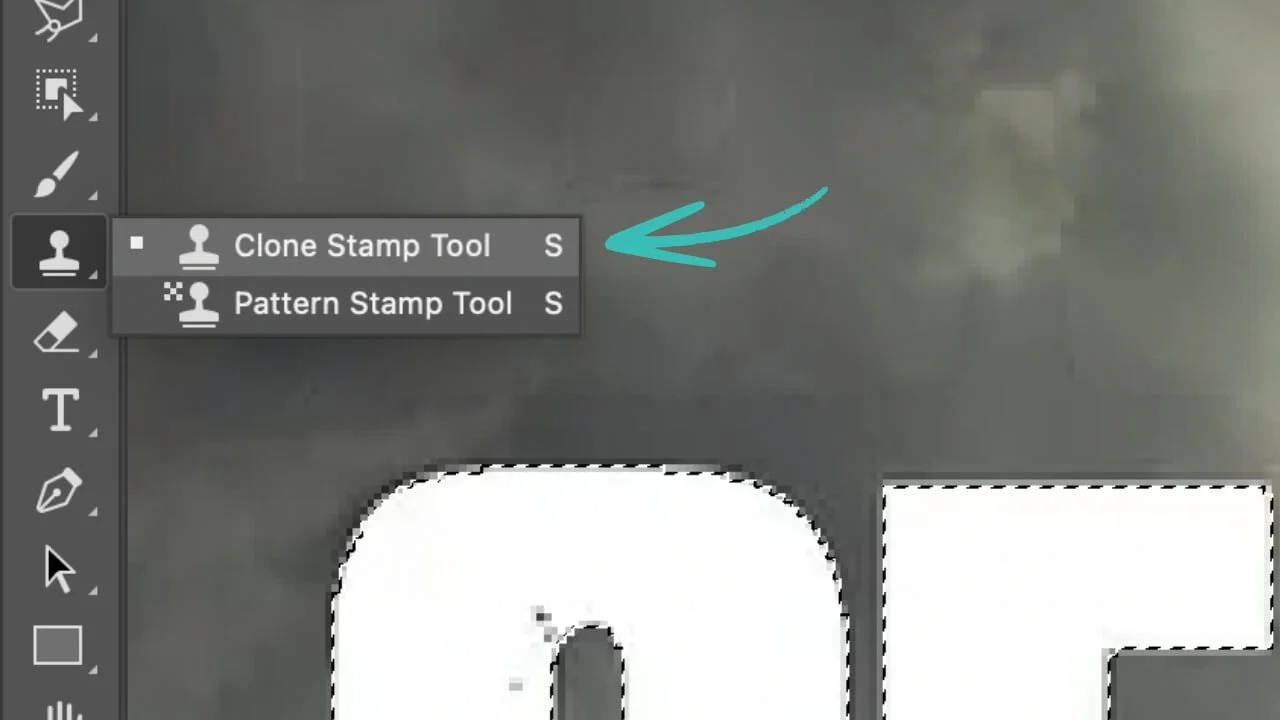
With the Clone Stamp selected, using 'Alt' or 'Option', you can sample part of your image and then simply paint over any discrepancies. Make sure you right click and have a ’Soft Brush’ selected.

Complex Challenges:
In more intricate scenarios, such as text overlapping complex backgrounds or characters, the process requires a bit more finesse.
Once you've navigated through the foundational steps, you may find the need for manual refinement, particularly when dealing with delicate features such as hair, as illustrated in our example.
Employ the lasso tool (shortcut 'L') for this task. By holding 'Shift', you can meticulously remove unwanted portions from your selection, enabling precise edits and ensuring your mask aligns perfectly with the nuanced contours of your subject.

Upon achieving a selection that meets your satisfaction, reapply the Content Aware Fill. This sophisticated feature should adeptly address the remaining challenges, seamlessly blending your edits into the original imagery.
Before vs After

Conclusion:
In short, getting rid of text in Photoshop can be broken down into three easy steps, thanks to the software's smart AI that does most of the hard work for you. This makes the job much simpler than before, letting you focus on making your images look great.
Keep in mind, every picture is different and might need its own approach. But don't worry, the more you practice, the easier it will get. I encourage you to try out different things, ask questions, and most of all, have fun with it.
I'm excited to see what you can create. Share your work, ask any questions, or tell us what you want to learn next in the comments below. Your input helps everyone and guides what we do next.
And if you found this helpful, don't forget to hit the like button, share this with friends, and subscribe for more easy-to-follow guides.
Let's make something amazing together.